Mounting Prints on Aluminium Composite
by Mark Segal
Introduction
During a visit to Northern Germany last November I attended a local painting and photography exhibition in Hamburg featuring the works of area artists and photographers. At several of the photographers’ booths I was much attracted to the style of mounting the large photographs they were exhibiting – sleek and, while it’s been around for a while, looking very contemporary. The photos were mounted on aluminium sheeting. The sheeting is a composite made of two 0.012″ aluminium sheets thermo-bonded to a solid polyethylene core. It is lighter than aluminium, but engineered to retain its superior flatness and will not bow. It is used for mounting fine art prints and in construction of trade show materials.Wheels started turning in my head, as I had recently printed a 5 foot by 16 inch panorama of the Toronto skyline from the city’s waterfront I had made before the trip[1]. I thought that if I could find this service offered in Toronto, it may be an ideal way of presenting this image. On my return, I was recommended to SML Graphics (http://www.smlsolutions.ca/), which indeed is fully equipped for and experienced with aluminium mounting[2]. I brought the print to their workshop, discussed the product, the process and the pricing with them, and engaged them to do it. Michael Reichmann and I both found the results so pleasing and practical that we decided to share the details with you, given previous interest in presentation techniques discussed on the Lumininous-Landscape.
[1]The panorama was made by stitching three Phase One P40+ images in Photoshop CS5 and is offered for sale in an unmounted edition on my website –www.markdsegal.com.
[2]Other firms in Toronto and other cities also do dibond mounting.
Product and Process
The product and the process are quite straightforward – the image is mounted flush on the composite sheet, and this sheet is backed with a rigid aluminium frame hidden behind it, as shown in Figures 1 and 2.
Figure 1
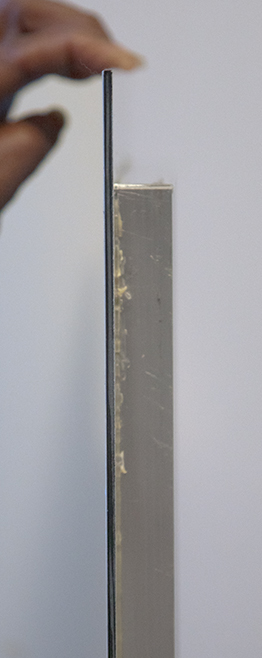
Figure 2
The frame is glued to the back of the sheet with epoxy and cannot be easily dislodged – in fact even hammering the frame will not dislodge it. SML punched three holes in the top section of the frame, and provided a slim strip of wood with three nails sticking out the top to match exactly with the holes in the frame (Figure 1). All I needed to do was to mount the wood strip to the wall (properly leveled) with a couple of screws, line-up the holes in the frame with the nails on top of the wood strip and let the assembly slip into place. Figures 3 and 4 show the end result from two angles.
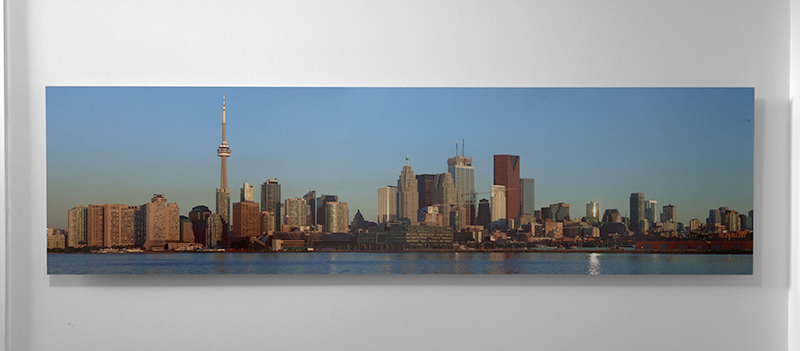
Figure 3
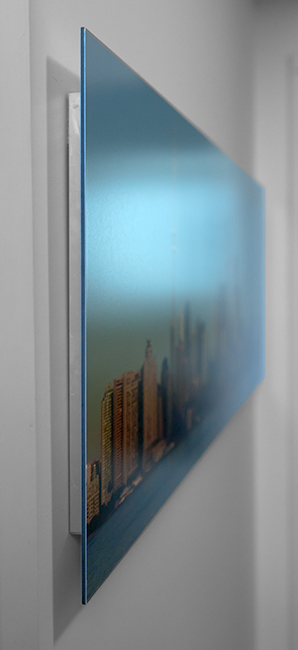
Figure 4
There is absolutely no warping; the image is perfectly flush to the edges of the mount and perfectly flat on the aluminium sheet.
The image is mounted to the aluminium sheet using GBC Duramount, a water-based adhesive, with neutral pH and no solvents. The image, the adhesive and the mount are fed through a cold press to assure a perfect seal with no air bubbles. With all this, there is no risk of heat damage to the image because no heat is applied and the adhesive is archival.
SML allowed me to photograph the mounting process, which actually has many steps, given the need for maximum cleanliness and perfect alignment of the components every step of the way. The following photos are an abridged synopsis of the procedure.
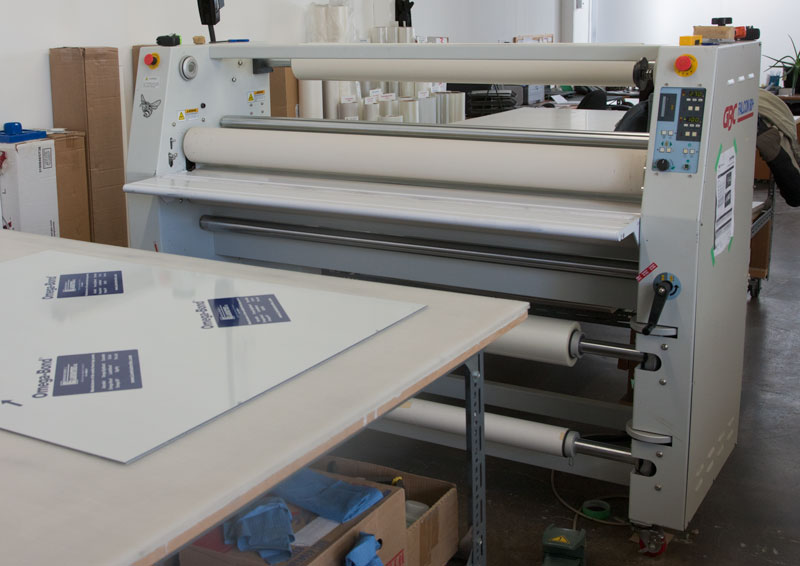
Figure 5. Composite Sheet and Cold Press
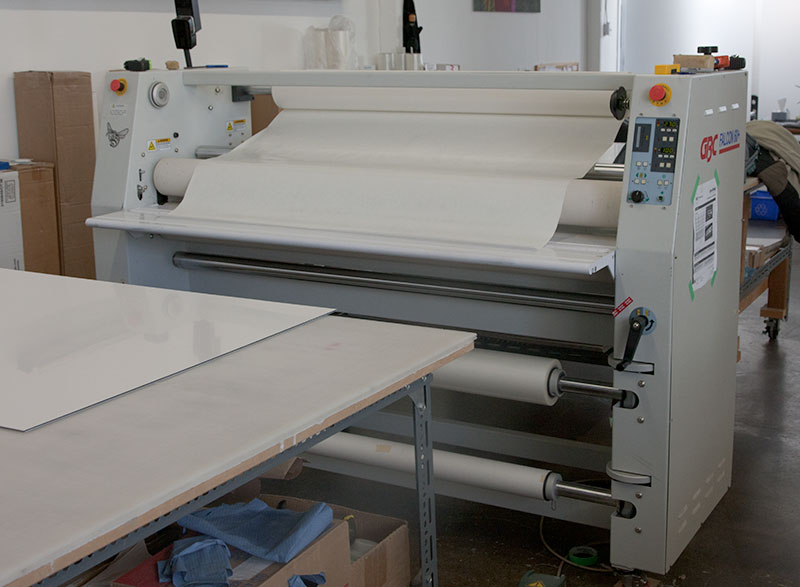
Figure 6. Press with GBC Bonding Sheet, preparing to be affixed
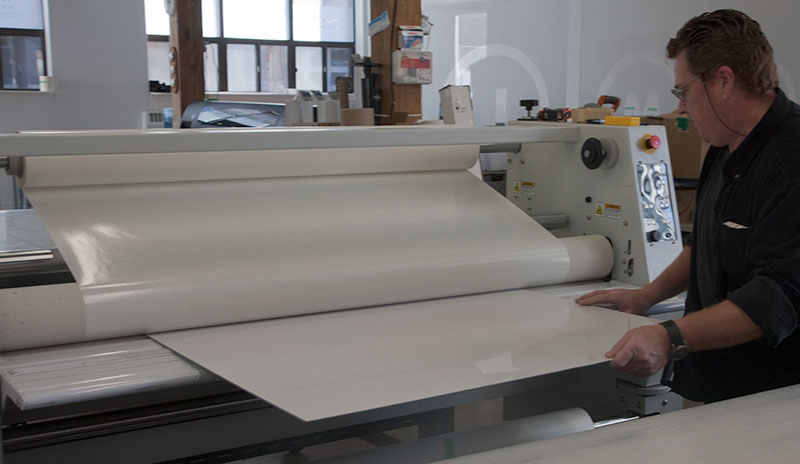
Figure 7. The Bonding Sheet is Affixed to the Composite Panel
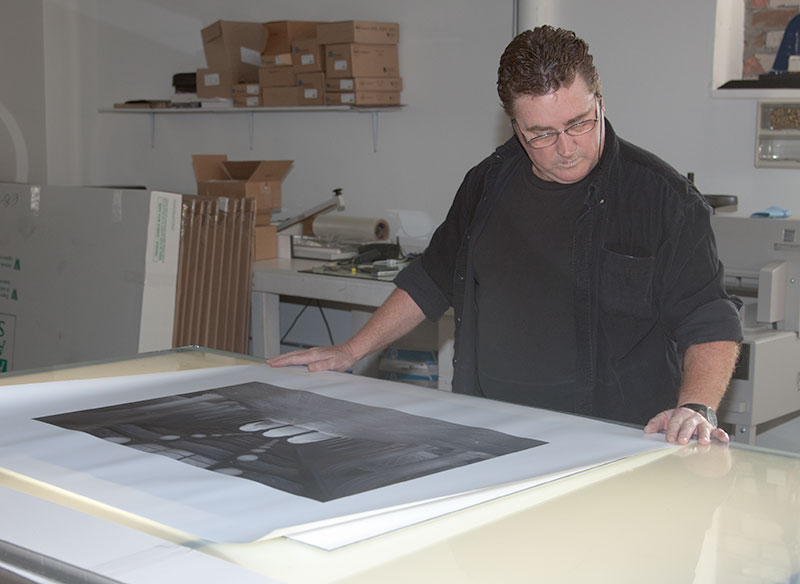
Figure 8. The Photograph is Positioned on the Affixed Bonding Sheet
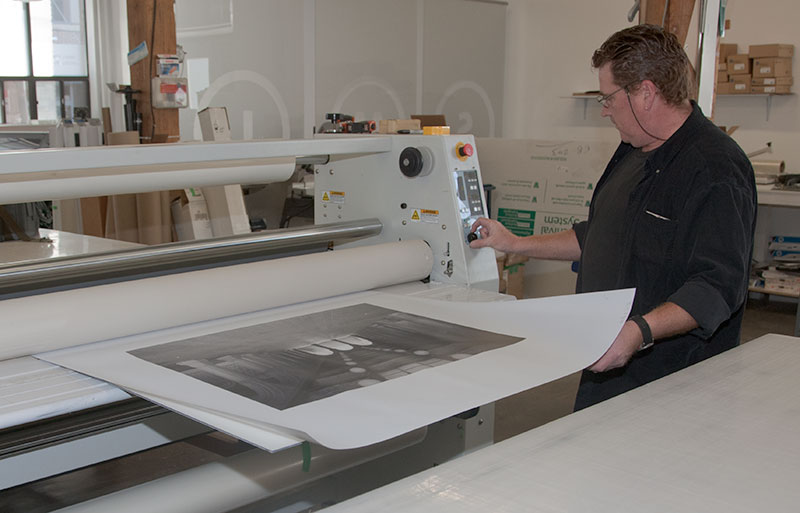
Figure 9. The Sandwich is Fed into the Press and Carefully Guided Through the Rollers
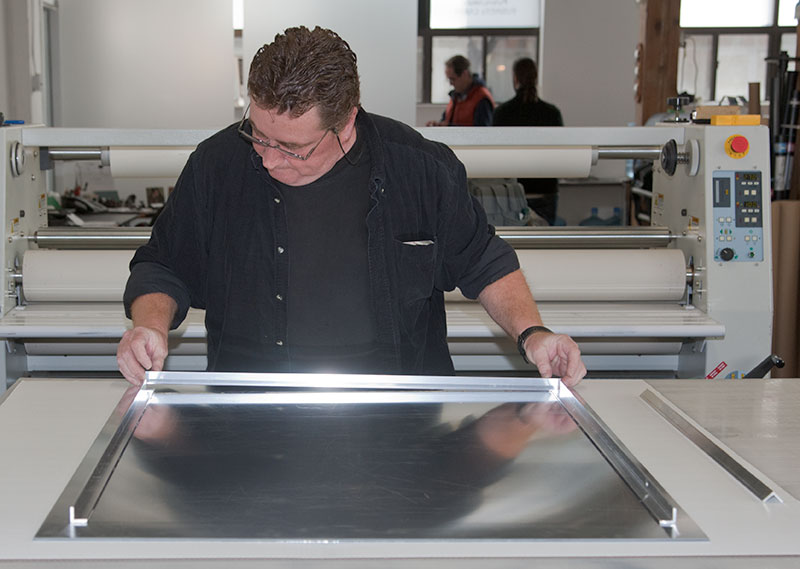
Figure 10. Prepared Aluminium Angle Bars are Positioned on the Back of the Mount
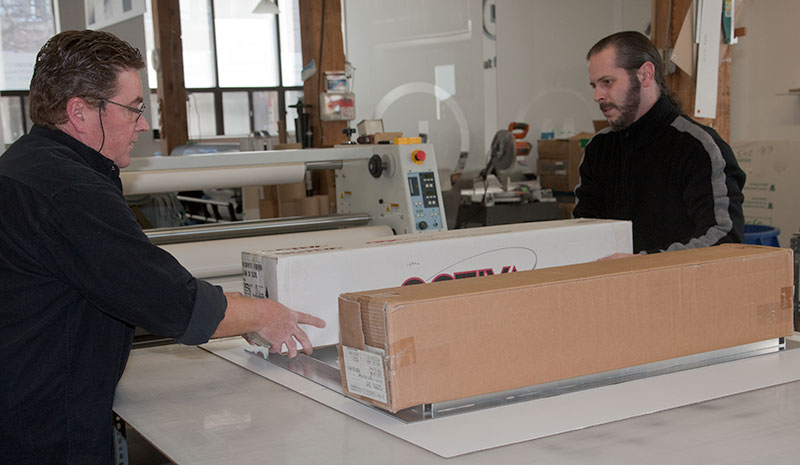
Figure 11. Heavy Weights Placed on Glued Bars to Insure Tight Bonding
I could spray the surface of the image to protect it from air-borne contaminants, but for this print I decided not to. I wanted to take no risks with the surface appearance and to ensure that I preserve visibility of all the fine image detail. The file was printed on Canson Baryta Photographique in an Epson 7900 and is being displayed in a relatively clean indoor environment. It should remain intact for many years.
One could of course frame such a print with a conventional wood-frame and glass. The final product would be considerably heavier, and the choice of glass would be either a normal sheet, which reflects the surroundings, or museum glass, which while much better (and more expensive) than anti-glare glass in this respect, slightly veils some image detail. I doubt the cost of framing such a print with museum glass would be any less than what I paid for the aluminium mounting solution – about $260 (CAD).
(Photographs co. Mark D Segal)
Mark D Segal
March 2011
No comments:
Post a Comment